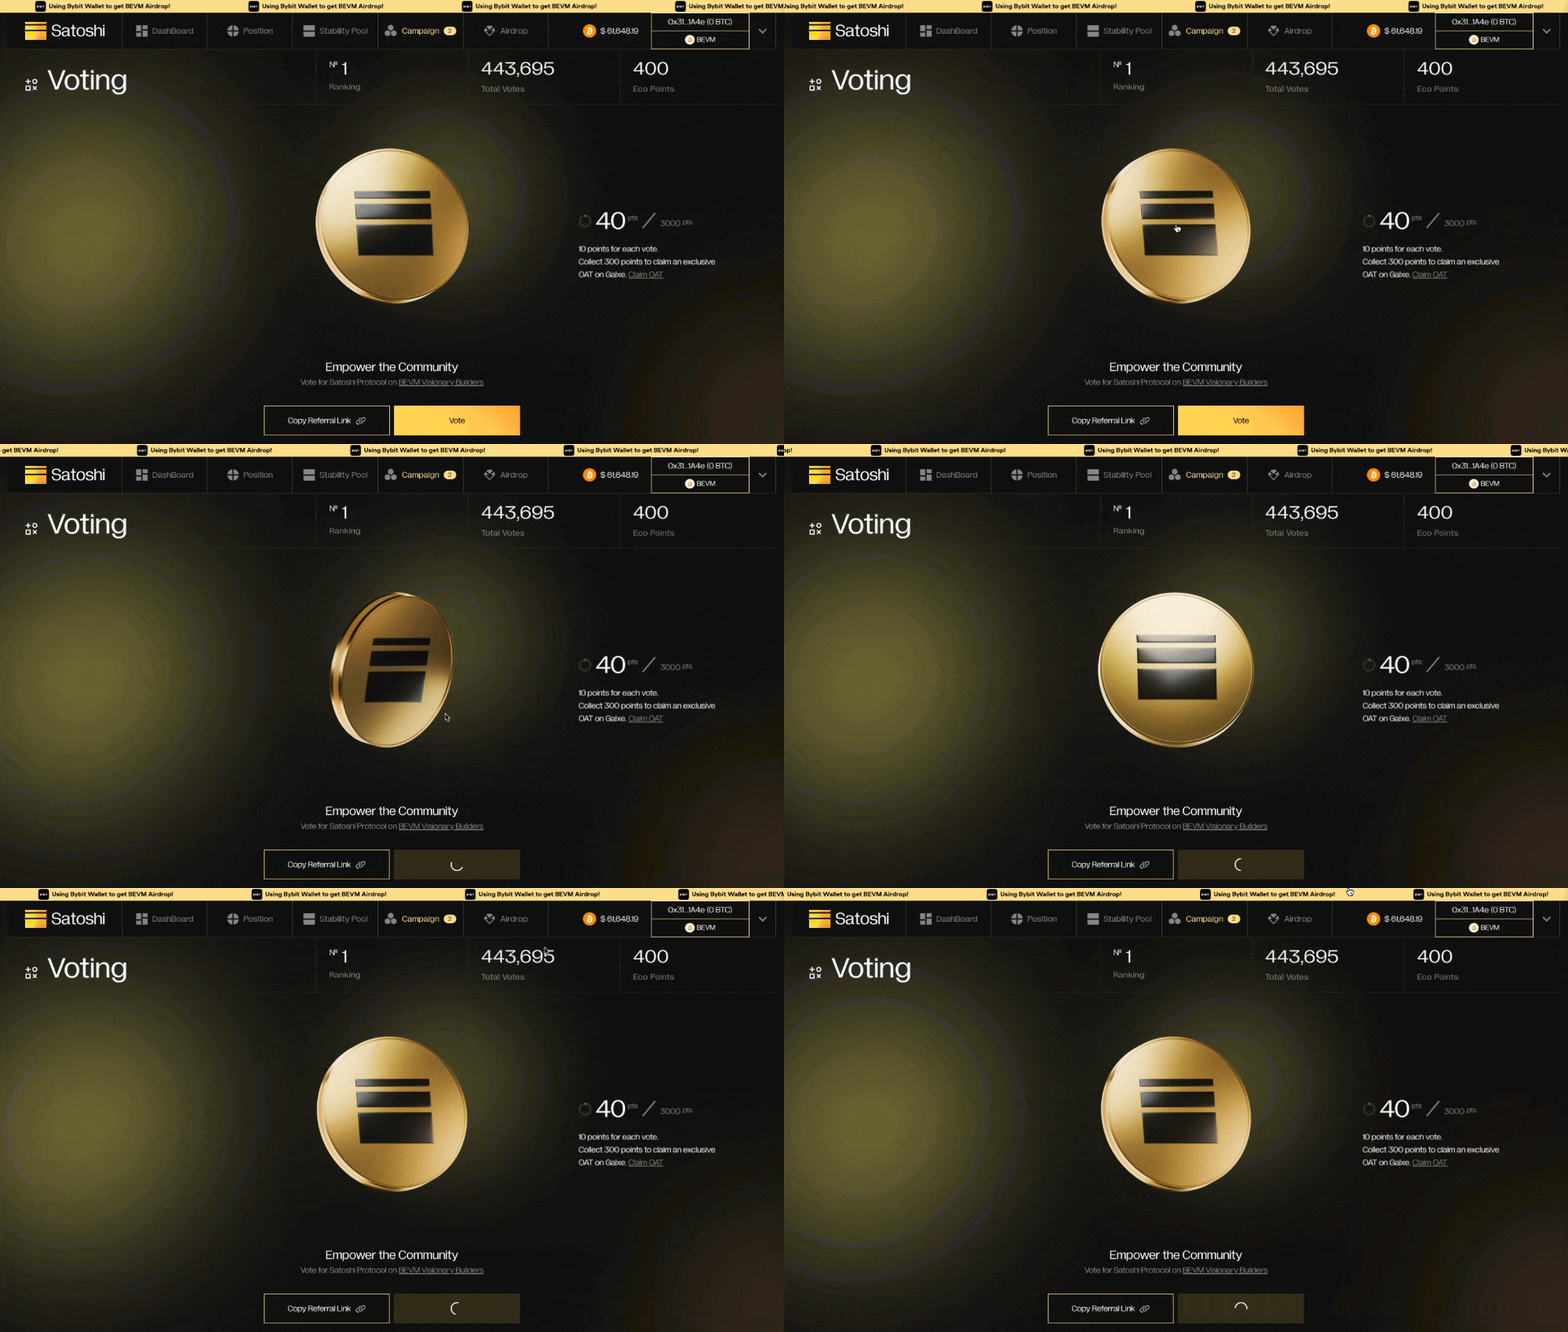
將高質量的影片內容整合到 Web 應用程式中可以顯著增強使用者體驗。.webm 是一種流行的影片格式,提供高效壓縮和高質量。 在本文中,我們將探索如何在 JavaScript 和 React 應用程式中使用 .webm 檔案,解決迴圈、動態源更改和處理使用者互動等常見挑戰。
在JavaScript中使用.webm檔案
基本實施
要在 HTML 中嵌入 .webm 影片檔案並確保其連續迴圈,您可以使用以下結構:
<video id="banner-video" autoplay muted playsinline loop>
  <source src="path/to/your/video.webm" type="video/webm">
  Your browser does not support the video tag.
</video>
高階實施:惰性載入和多解析度支援
對於更最佳化的方法,包括針對不同螢幕尺寸的延遲載入和不同解析度,請考慮以下實現:
<video id="banner-video" preload="none" playsinline muted loop>
  <source src="path/to/your/video-1080p.webm" type="video/webm" media="(min-width: 1200px)">
  <source src="path/to/your/video-720p.webm" type="video/webm" media="(min-width: 768px)">
  <source src="path/to/your/video-480p.webm" type="video/webm">
  Your browser does not support the video tag.
</video>

<script>
  document.addEventListener('DOMContentLoaded', function() {
    const video = document.getElementById('banner-video');
    const observer = new IntersectionObserver(entries => {
      entries.forEach(entry => {
        if (entry.isIntersecting) {
          video.play();
          observer.unobserve(video);
        }
      });
    });
    observer.observe(video);
  });
</script>
說明一下
- 迴圈屬性:確保影片結束後自動重新啟動。
- 自動播放和靜音屬性:當頁面載入時,自動播放會啟動影片。 一些瀏覽器要求將影片靜音才能自動播放。
- Playsinline屬性:確保影片在移動裝置上內聯播放。
- 預載入屬性:控制影片的載入方式。無減少初始載入時間。
- Intersection Observer: Lazy載入影片,僅在進入視口時播放。
在React中使用 .webm 檔案
使用 React 時,整合 .webm 檔案涉及使用 refs 和管理動態行為狀態。 下面是一個全面的示例,演示瞭如何根據滑鼠事件等使用者互動來處理不同的影片源。
完整的React元件示例
這是一個示例 React 元件,演示瞭如何使用 檔案,包括根據使用者互動動態更改影片源:
import React, { useRef, useState } from 'react';

const VideoComponent = ({ isSignIn, handleOnVote, handleSignIn, voteForSatoshi }) => {
  const videoRef = useRef<HTMLVideoElement>(null);
  const sourceRef = useRef<HTMLSourceElement>(null);
  const [timer, setTimer] = useState<NodeJS.Timeout | null>(null);

  const changeSource = (src: string) => {
    if (!src) return;
    const video = videoRef.current;
    const source = sourceRef.current;

    if (video && source) {
      source.src = src;
      video.load();
      video.play();
    }
  };

  const handleCoinAnimation = () => {
    if (timer) clearTimeout(timer);
    changeSource("/videos/coin_ready.webm");

    const firstTimeout = setTimeout(() => {
      changeSource("/videos/coin_spin.webm");
    }, 300);

    const secondTimeout = setTimeout(() => {
      changeSource("/videos/coin_ended.webm");
    }, 2500);

    const thirdTimeout = setTimeout(() => {
      changeSource("/videos/coin_wave.webm");
    }, 4500);

    setTimer(thirdTimeout);
  };

  const handleOnVote = async () => {
    handleCoinAnimation();
    // Additional vote handling logic...
  };

  return (
    <div className="relative cursor-pointer w-full h-full md:min-h-0">
      <video
        ref={videoRef}
        id="coin-video"
        playsInline
        muted
        autoPlay
        loop
        preload="metadata"
        className="w-full m-auto md:p-4 md:max-w-[360px] max-h-[360px] md:max-h-full md:pb-4 pb-25 mt-4"
        onClick={handleOnVote}
        poster={voteForSatoshi.src}
      >
        <source ref={sourceRef} id="video-source" src="/videos/satoshi_coin_wave.webm" type="video/webm" />
        Your browser does not support the video tag.
      </video>
      <div className="md:hidden absolute bottom-[25%] left-[calc(50%-50px)] m-auto shadow-sm">
        <p className="relative text-sm leading-[22px] click-to-vote rounded-sm bg-white text-black px-3 py-2 w-fit ">
          Click to vote
        </p>
      </div>
    </div>
  );
};

export default VideoComponent;
關鍵改進
- Using Refs: 使用 useRef 獲取對影片和源元素的引用,而不是直接操作 DOM。
- Managing Timer: 使用 useState 管理定時器狀態,並在設定新計時器之前清除以前的計時器。
- Event Handling: 確保事件處理程式設定正確,以根據使用者互動更改影片源。
TypeScript 注意事項
使用TypeScript時,請確保正確輸入ref,以避免錯誤:
const videoRef = useRef<HTMLVideoElement>(null);
const sourceRef = useRef<HTMLSourceElement>(null);
const [timer, setTimer] = useState<NodeJS.Timeout | null>(null);
總結
使用 JavaScript 或 React 將 .webm 檔案整合到您的 Web 應用程式中涉及理解 HTML 影片屬性、事件處理和高效狀態管理。 透過遵循本文中概述的示例和最佳實踐,您可以透過高質量、高效載入的影片內容來增強 Web 應用程式的使用者體驗。


